PR1 Madeira: Pico do Areeiro to Pico Ruivo Trail Guide
Plan the PR1 ridge walk in Madeira from Pico do Areeiro to Pico Ruivo: distance, exposure, transport between trailheads, permits and the best months.
On this page
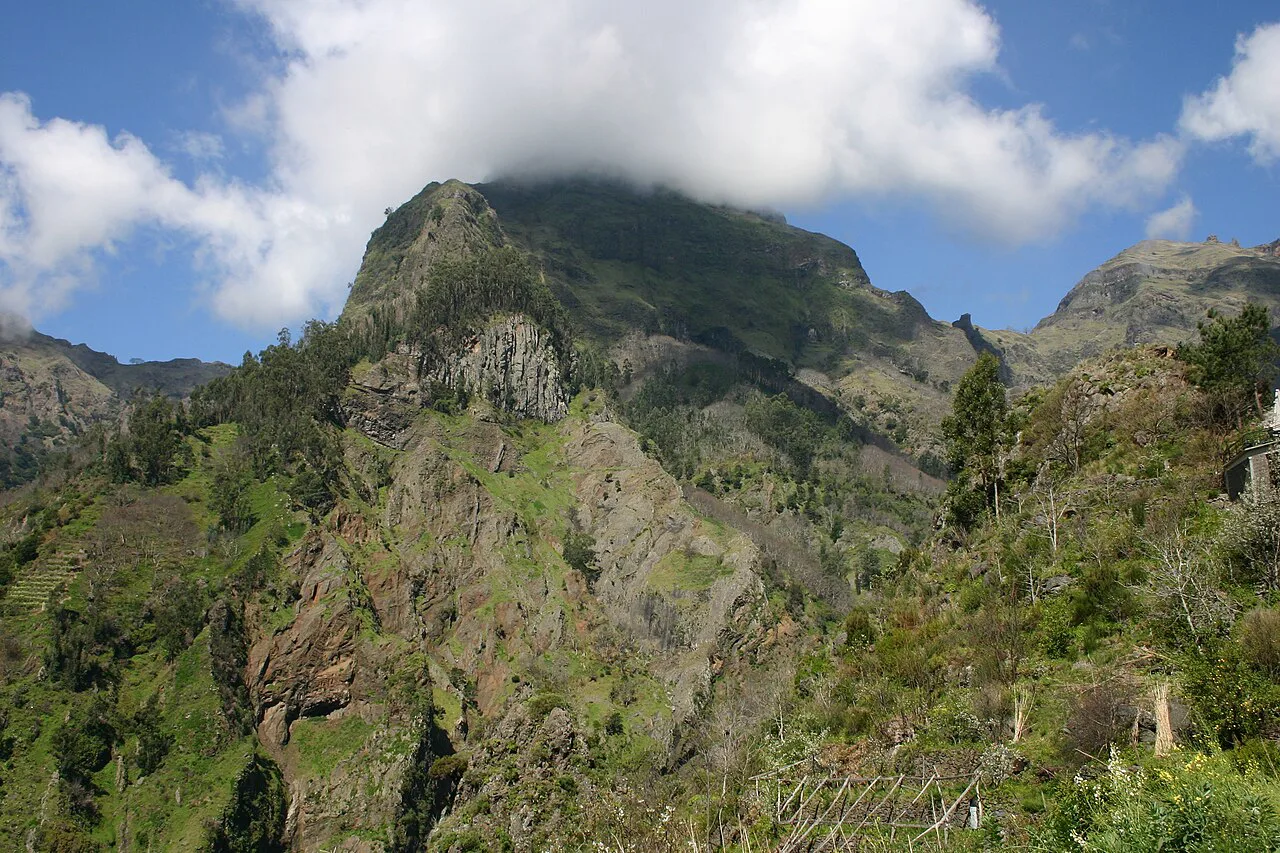
The PR1 traverse between Pico do Areeiro and Pico Ruivo is Madeira's signature mountain day: a narrow volcanic ridge connecting the island's two highest peaks (1,818 m / 5,964 ft) and (1,862 m / 6,109 ft), with cloud pooling below and drops of more than 500 m (1,640 ft) on either side. It suits hikers who are fit for a long day and comfortable on genuinely exposed ground.
This is a point-to-point route, not a loop, so the logistics matter as much as the walking. You need a paid permit booked in advance, a way back from the far trailhead, and a clear mountain forecast before you commit to the ridge.
Where PR1 Runs
PR1, the Vereda do Areeiro, begins at Pico do Areeiro and crosses Pico das Torres before climbing to Pico Ruivo, Madeira's highest summit. It is classified as a vereda, a mountain ridge trail, and the official trail page describes it as linking the island's three iconic high points.
Most hikers walk it in the Areeiro-to-Ruivo direction and finish at the Achada do Teixeira road end, where the final descent is the least exposed part of the day. Walking it the other way works too, but it puts the crux ridgeline early, before your legs and judgment have settled into the terrain.
Distance, Ascent, Time and Difficulty
The full traverse is 15.6 km (9.7 mi) point to point with roughly 1,000 m (3,280 ft) of ascent, and it is rated hard. Plan on 7 to 8 hours of walking, and add time for the summit, photos and the narrow sections where you queue behind other hikers.
The difficulty is not in the distance but in the surface: carved steps, low tunnels, and long stretches where the path narrows to a metre or less. Tunnels on the route mean you need a headlamp even on a clear day.
Expect to move slower than your usual pace. Hikers who are strong on distance but new to exposure should budget the upper end of the time range and start at first light to leave margin before afternoon cloud builds.
Trailhead and Parking
Pico do Areeiro has a car park, shops, restaurants and public toilets at the trailhead, so you can buy water and snacks before setting off. Bring coins for the facilities.
The car park fills on popular mornings, and starting early is the practical way to secure a space. Parking at Pico do Areeiro is paid and booked through the same platform as the trail permit.
At the far end, Achada do Teixeira is a road-end parking area on the Santana side of the massif. If you are leaving a second car there, drive it up first and then continue to Areeiro, so the return leg is a simple drive rather than a wait for a lift.
Permit, Fee and Time-Slot Booking
PR1 requires a paid permit booked online through SIMplifica, with entry in 30-minute time slots and limited daily capacity. The permit costs more than the standard Madeira trail fee and is excluded from multi-day passes, so each hiker books and pays individually.
Morning slots go first, and weekdays are easier to secure than weekends. Rangers check tickets at the trailhead, so save your permit offline before you lose signal on the mountain.
Booking through an ICNF protocol operator lowers the per-person trail fee and bundles the permit into the trip. That route makes sense if you also want the transport and weather decision handled for you.
Route Description: Pico do Areeiro to Pico do Gato
From the Areeiro car park the path climbs briefly to the radar station at the summit, then drops steeply through carved steps and tunnels cut into the volcanic rock. This first 2.5 km section has the most dramatic opening views and the most wind, with the ridge fully exposed.
Tunnels here once sheltered cattle and shepherds, and they are short but dark enough to need a light. The path width varies from about 1.5 m to under a metre, so pass other hikers deliberately rather than squeezing past on the outside edge.
Route Description: Pico do Gato to the Pico Ruivo Shelter
This is the crux. The ridgeline between Pico do Gato and the Pico Ruivo shelter has the highest exposure of the day, with 500 m drops on both sides and stretches where the path narrows to 60 to 70 cm. Safety cables have been reinstalled along the most exposed passages, but they are protection, not a handrail for casual use.
There is no sensible mid-section bail-out here. Once you are committed to the narrow ridge, turning around is harder than continuing, and wind or fog turns a demanding traverse into a poor decision. If you have significant vertigo, choose a different route rather than testing yourself on this one.
The route climbs around Pico das Torres, descends, then begins the final ascent toward Ruivo, with metal stairs and guardrails on the steepest passages. Move slowly and let faster hikers pass where the path allows.
Pico Ruivo Summit and the Casa de Abrigo Shelter
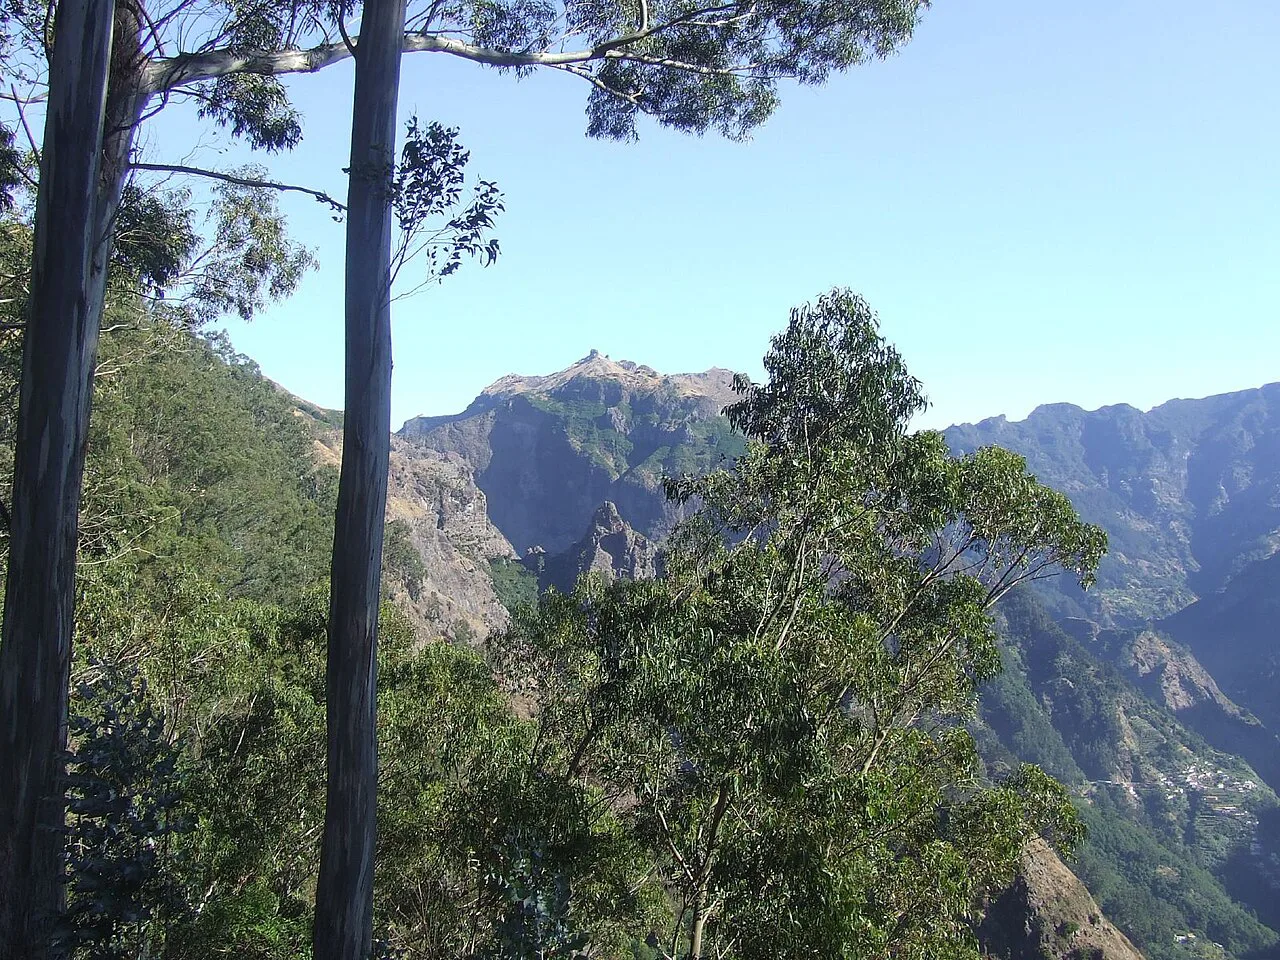
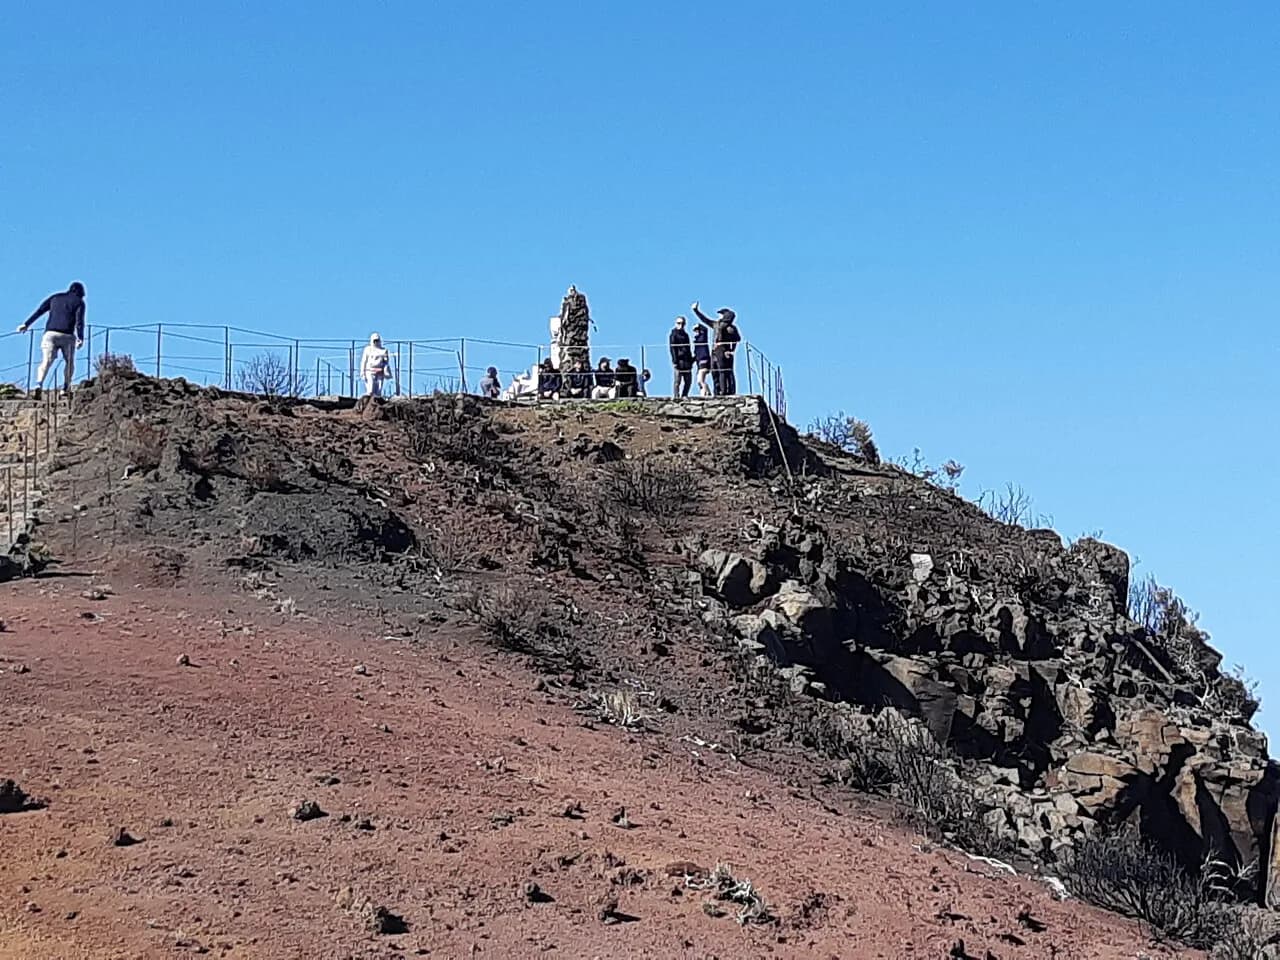
The last 0.5 km from the shelter to the summit is short and steep, and the top gives a 360-degree view that reaches Porto Santo, 50 km to the northeast, on a clear day. The shelter below the summit has basic toilets and water, making it the natural rest stop before the descent.
If you want sunrise or sunset on the summit without a pre-dawn drive, Casa de Abrigo has a small number of beds and needs booking well ahead. Bring a sleeping bag or liner and a headlamp, because the power goes off at night.
Descent to Achada do Teixeira
From Pico Ruivo the path drops to Achada do Teixeira over 2.5 km of stone steps and well-maintained trail through recovering vegetation. It is the least exposed section of the traverse and is shared with hikers coming up the shorter PR1.2 route from the road end.
Keep something in the tank for this descent: the steps are relentless on tired legs, and the car park at the bottom is your exit point. If you left a car at Areeiro, you now need the transfer you arranged earlier.
Getting Back: Two Cars, Taxi or Guided Pickup
The transport problem is the part most hikers underestimate. Leaving one car at Achada do Teixeira and driving the other to Pico do Areeiro is the cheapest and most flexible solution, but it needs two drivers in the group.
A taxi or pre-booked transfer from Achada do Teixeira back to Areeiro removes the second-car problem, but mountain taxis are limited and you should agree the fare before you start walking. Guided trips solve it entirely by handling pickup in Funchal, the drop-off at the start, the permit and the collection at the end.
When to Go
May, June, September and October give the most stable weather, lower humidity and the clearest views, with October mornings often sitting above a cloud inversion. July and August are warm but crowded, and afternoon cloud is common.
November to February brings more rain, frequent fog at altitude and strong winds, and the trail can close temporarily in bad weather. At 1,800 m the massif runs its own climate, so check the forecast for Pico do Areeiro rather than Funchal, which can be 10 to 15°C warmer.
Exposure, Vertigo and Weather Judgment
The hazards on PR1 are specific and predictable: drops on both sides of the ridge, narrow passages, wind that pushes you off balance, and fog that erases the route ahead. Cold is a real factor too, since the summit can be 10 to 15°C cooler than the coast even in summer.
The sensible response is a clear-above-1,500 m forecast, proper boots with good grip, a windproof layer and a headlamp, and a willingness to abandon the traverse for the Achada do Teixeira out-and-back if conditions turn. Fixed cables protect the worst passages but do not make a windy, foggy ridge safe.
What the 2024 Wildfire and Reconstruction Changed
The August 2024 wildfire damaged walkways, handrails, cables and signage along PR1 and burned large areas of laurel forest, and the trail reopened to the public on 27 April 2026 after a 20-month rebuild. The rebuilt sections use more durable, fire-resistant materials.
The landscape is rawer than in older photographs, with stripped forest, exposed volcanic rock and regenerating scrub. If you hiked PR1 before the fire, expect a route you recognise in a setting you do not.
Sleeping at Pico Ruivo: Shelter and Camping Permit
Casa de Abrigo is the only accommodation on the route, with a handful of beds and basic facilities. Beds go quickly in the good-weather months, so book as soon as your dates are fixed.
Camping is possible at the site just below the summit and requires a permit from SIMplifica; wild camping elsewhere on Madeira is not allowed and rangers check permits. The camping permit is priced separately from the trail permit.
PR1.2 from Achada do Teixeira: The Shorter Alternative
PR1.2 starts at the Achada do Teixeira road end and climbs to Pico Ruivo, giving the same summit and summit views without the exposed ridge between the peaks. It is shorter, far less vertiginous, and needs no transport shuttle at all.
Choose PR1.2 if you are hiking with someone who dislikes heights, if the forecast is marginal, or if you simply want the highest point of Madeira on a half-day schedule. You trade the dramatic ridge crossing for a straightforward out-and-back on good stone steps. If exposure is the deciding factor, the same question comes up when comparing hiking in Tenerife, where the high routes offer a similar trade between ridge drama and safe steps.
Other Madeira Trails to Pair With PR1
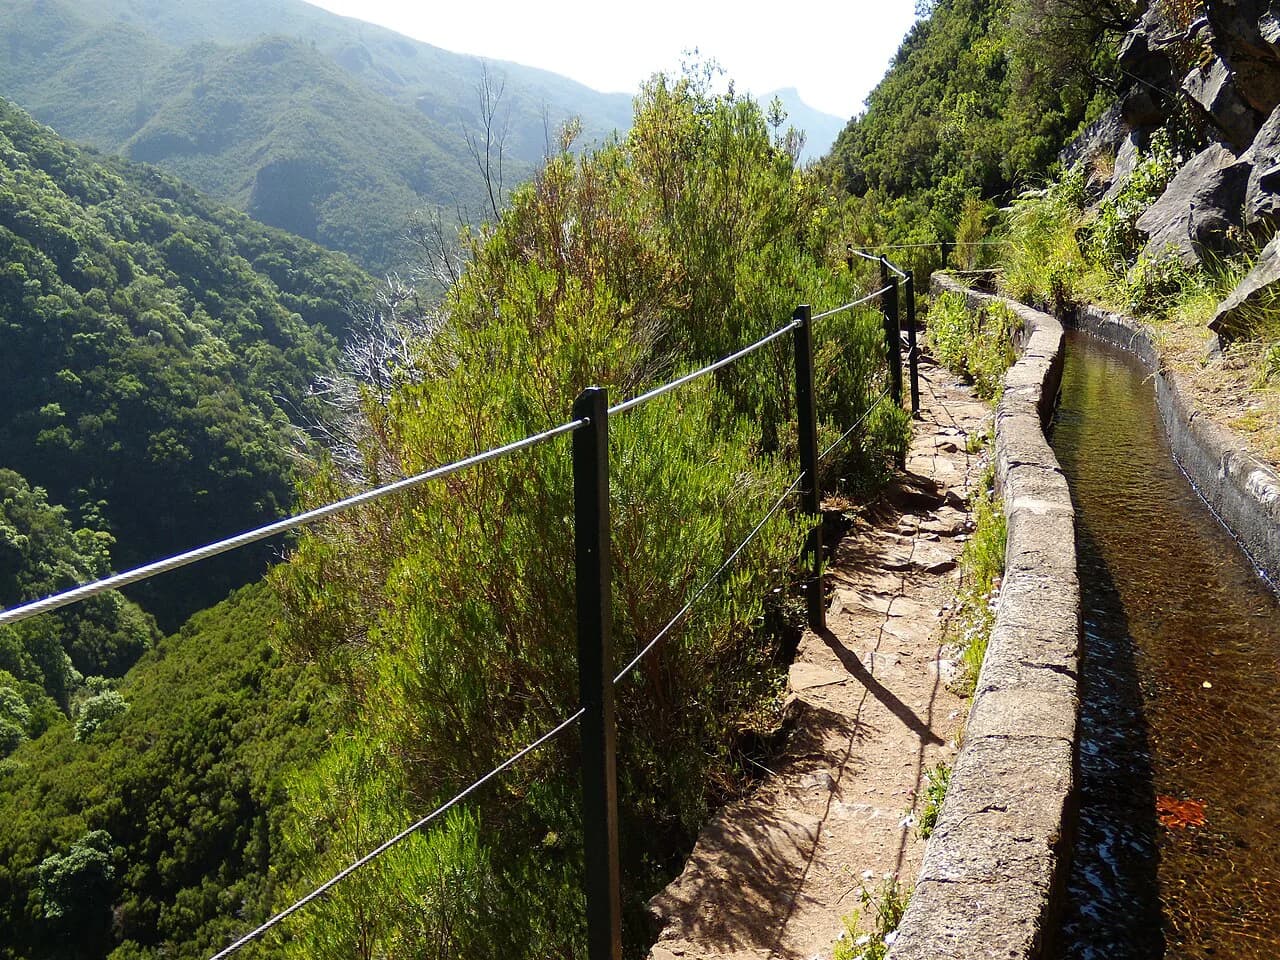
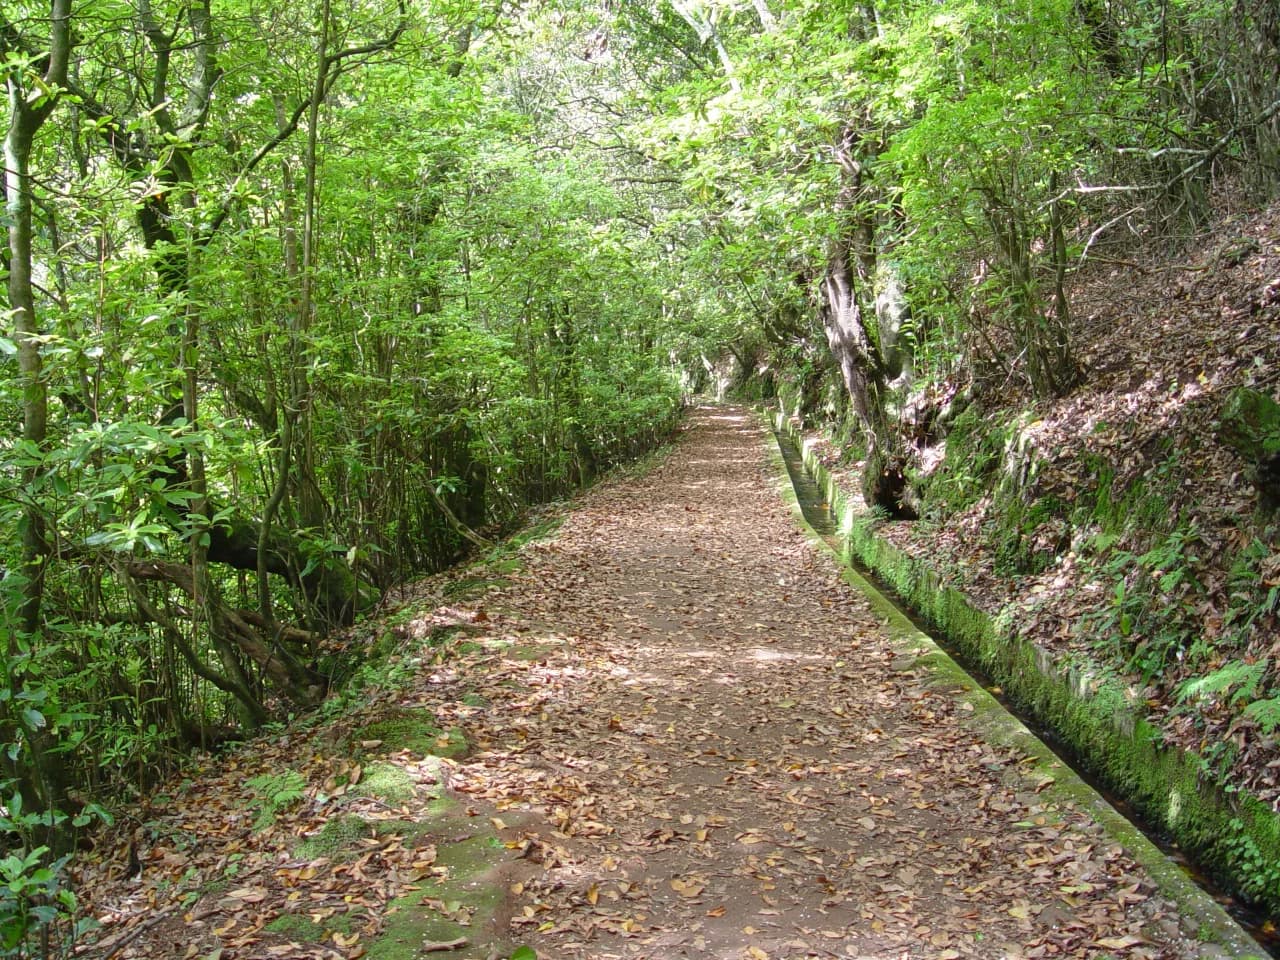
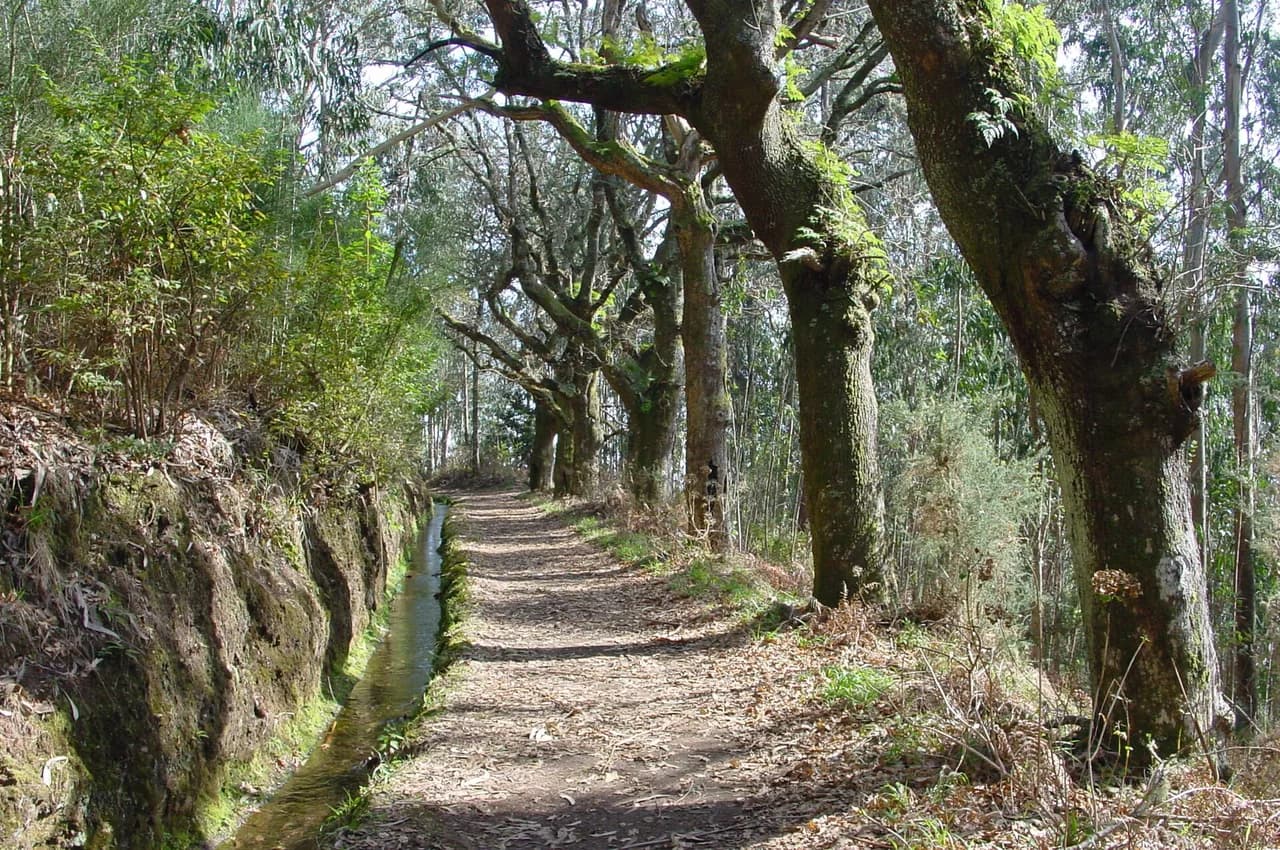
PR1 is a big day, so plan an easier day either side of it. The island's levada walks are the natural counterpart: flat, water-fed paths that suit tired legs and give you a very different Madeira on days when the high ridge is in cloud.
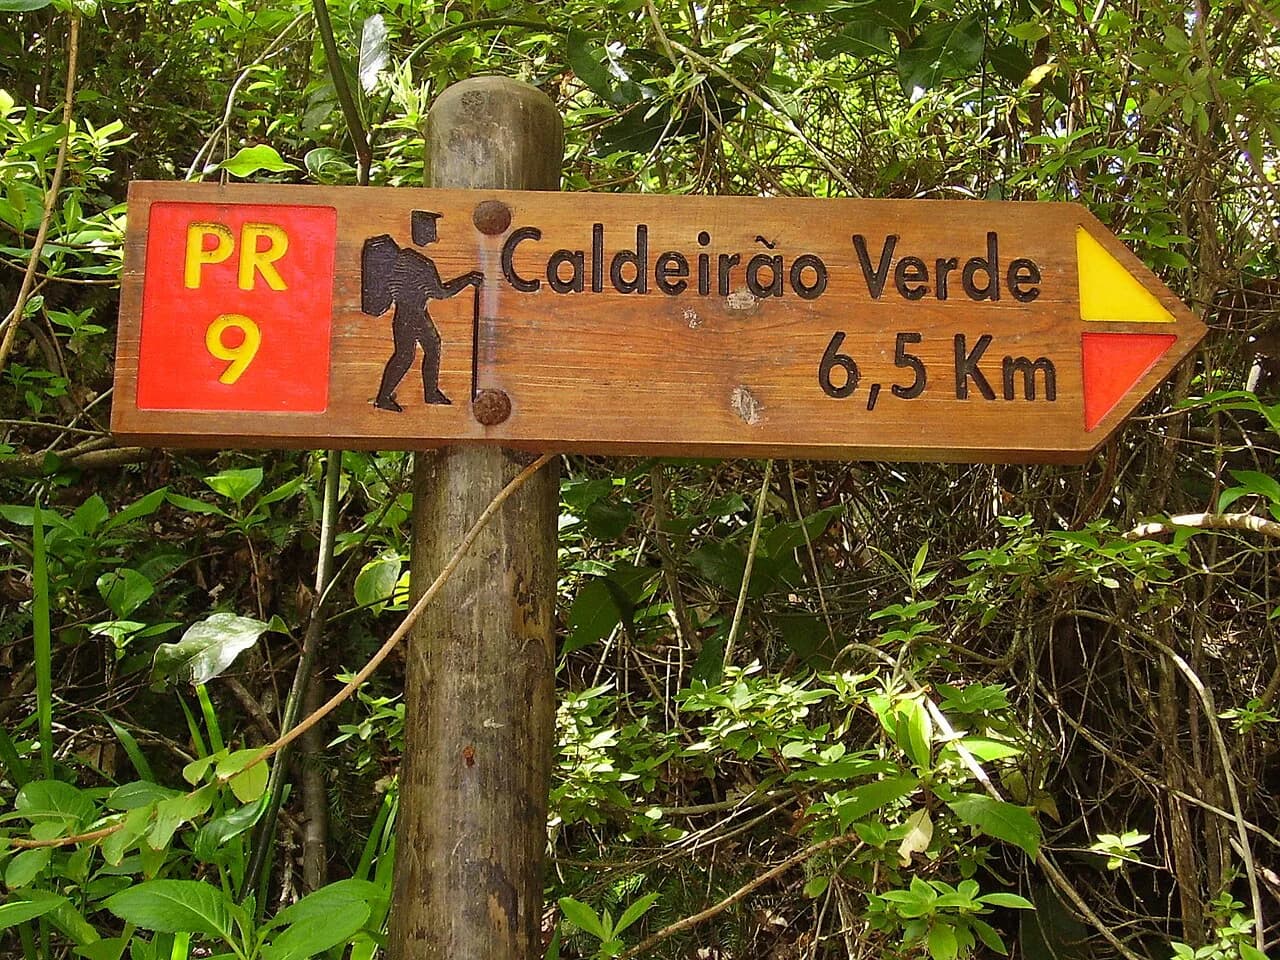
Levada do Caldeirão Verde (PR9) is a favourite for its tunnels and green gorge, and it pairs well with a rest day after the ridge.
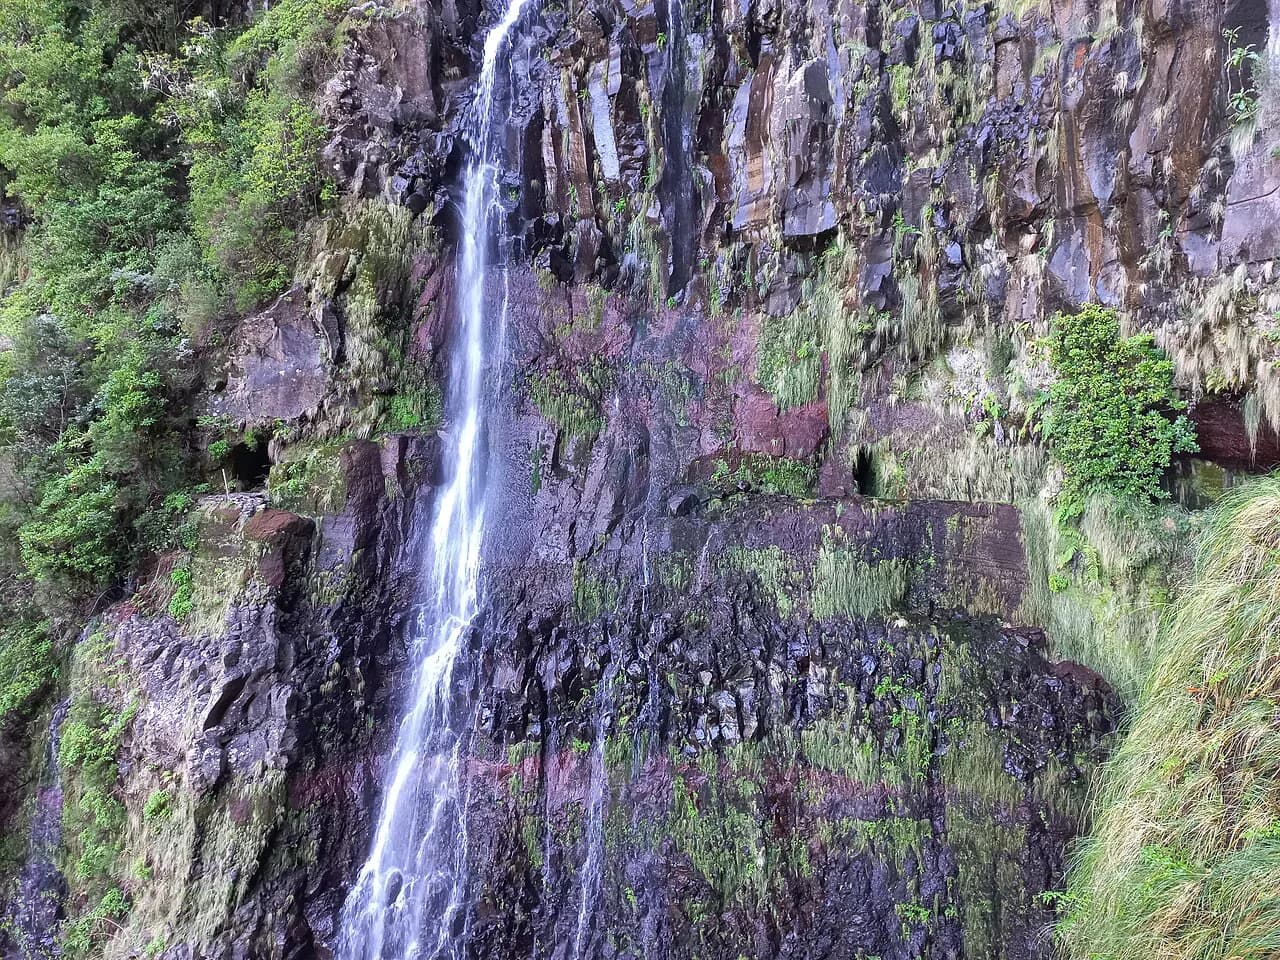
For big-waterfall scenery and an easy half-day from the Paul da Serra plateau, the Levada das 25 Fontes route ending at the Risco waterfall is the classic choice.
Plan Your Visit
PR1 rewards planning more than most day hikes: book the permit and a morning slot early, settle the return transport before you leave the coast, and treat the Pico do Gato ridgeline as the decision point it is. If the forecast is marginal or your group includes someone uneasy with exposure, PR1.2 from Achada do Teixeira gets you to the same summit with far less risk.
Check the official trail page and SIMplifica for current access and permit conditions before you travel, since the trail reopened in 2026 and capacity rules are recent.
Frequently Asked Questions
How difficult is PR1 in Madeira?
PR1 is rated hard. The distance is long, but the real challenge is the exposed ridgeline between Pico do Gato and the Pico Ruivo shelter, where the path narrows and drops fall away on both sides. It is not suitable for hikers with significant vertigo, and the shorter PR1.2 out-and-back is the better choice in that case.
Is PR1 Madeira open?
PR1 reopened to the public on 27 April 2026 after reconstruction following the August 2024 wildfire. Access is by timed permit booked in advance, and the trail can close temporarily in bad weather. Check the official trail page and SIMplifica for current status before your hike.
How long does the PR1 hike take?
Allow 7 to 8 hours for the full point-to-point traverse, plus time at the summit. The narrow, exposed sections slow progress, and hikers new to this kind of terrain should plan for the upper end of that range and start early.
Do you need a permit to hike PR1?
Yes. Every hiker needs a paid permit booked on SIMplifica, with entry in 30-minute time slots and limited daily capacity. PR1 sits at a higher fee than standard Madeira trails and is excluded from multi-day passes, so each person books separately.
How do you get back to Pico do Areeiro after finishing at Pico Ruivo?
Most hikers leave a second car at Achada do Teixeira before driving to Pico do Areeiro, or pre-arrange a taxi or transfer from the Achada end. Guided trips include pickup and collection, and the PR1.2 out-and-back from Achada do Teixeira avoids the return problem entirely.
When is the best time to hike PR1?
May, June, September and October give the most stable weather and clearest views. November to February brings more rain, fog and wind at altitude, while July and August are warm but crowded with frequent afternoon cloud.
Can you stay overnight on Pico Ruivo?
Casa de Abrigo below the summit has a small number of beds that need booking well ahead. Camping is possible at the site just below the summit with a permit from SIMplifica, and wild camping is not allowed on Madeira.
Sources
Trail notes for your next trip
Optional updates when we add or revise hiking guides.
You might also like
Continue reading
More guides you'll find useful