Dolomites Via Ferrata Guide: Routes, Grades, Huts
Plan a Dolomites via ferrata with named routes by difficulty, lift and toll-road access, the Brenta hut traverse, gear needs and the best months to climb.
On this page
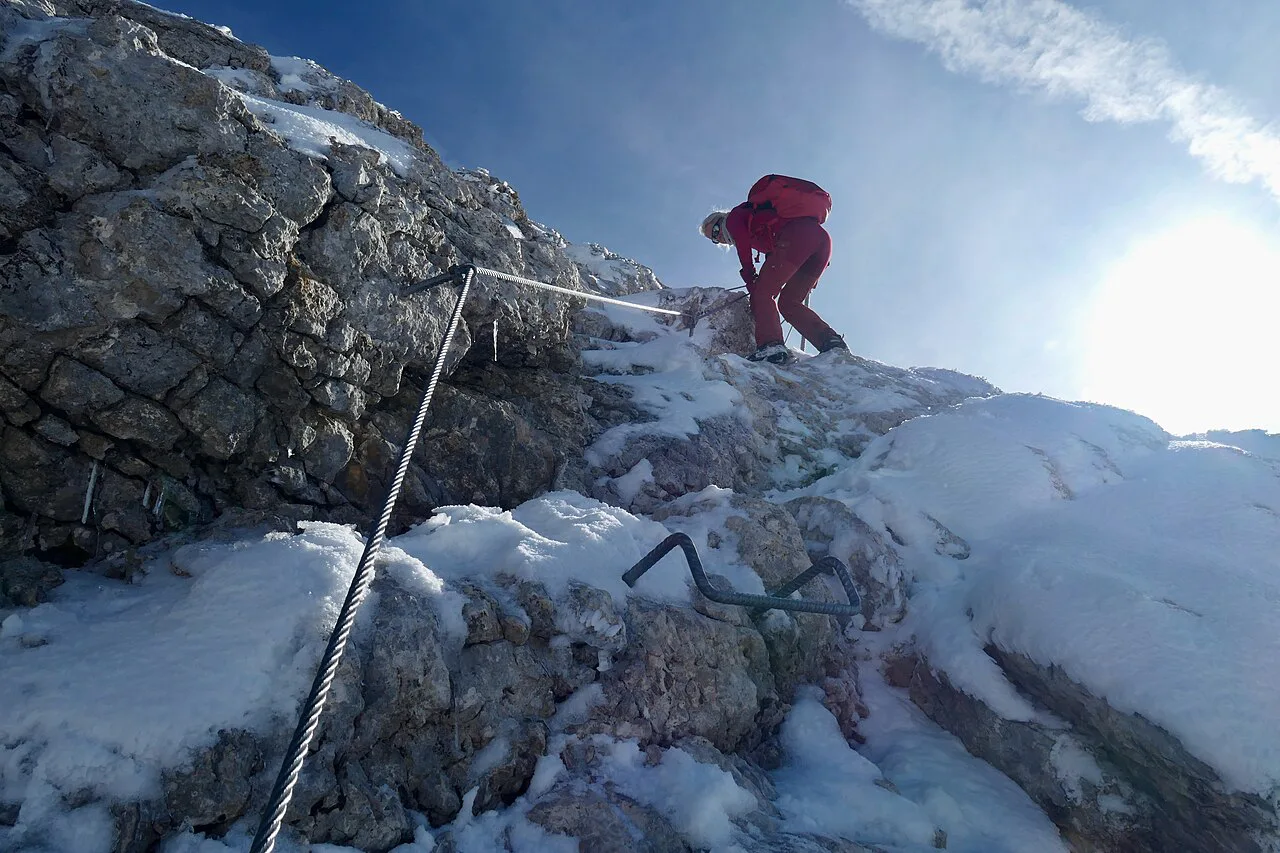
A via ferrata in the Dolomites puts you on rock that would otherwise belong to mountaineers: cables, ladders and rungs fixed to the wall, clipped into with a lanyard, often on ground fought over during the First World War. The range works equally well for a first taste of protected climbing above Passo Falzarego and for a committed multi-day traverse through the Brenta Dolomites.
What you choose comes down to three things: how exposed you want the climbing, how much approach you accept before the cables start, and whether you sleep in huts or return to a valley base each night. The routes below are grouped by that decision, from lift-assisted half days to a hut-to-hut line that needs a guide, a glacier crossing and settled weather.
What a via ferrata is
Via ferrata means iron path, and the name comes from the metal ladders installed through these mountains during the First World War. Modern routes follow many of the same military lines, but most original hardware has been replaced with anchored cables and rungs, so you climb rock walls, cross ledges and pass over high cols while permanently attached to a steel line. The same logic of graded, protected climbing applies if you compare these routes with the lake garda via ferrata, where lines such as Rio Sallagoni and Castel Drena suit different levels.
This is not scrambling with a handrail. You need a harness, a ferrata lanyard with two arms so you can pass anchor points without unclipping, a helmet and gloves for the cables; the lanyard is what turns a fall on a vertical section into a short drop rather than something far worse. Groups doing this for the first time typically go with a certified UIAGM/IFMGA mountain guide, who also teaches the rope skills needed for bigger lines.
Difficulty: how the routes compare
Rather than a single numeric scale, judge each ferrata by three things: how vertical the protected ground is, how much of it is like that, and how long you stay exposed above a drop. Averau is a short, pleasant climb suitable for any skill level; Piccola Cir is steeper and more challenging; Grande Cir is the easier of the Cir pair.
Length figures in route descriptions usually refer to the cabled section only, not the whole outing, so a 60 m (197 ft) ferrata can still be a half-day outing once the approach and descent are counted. Col dei Bos, for example, ends with a 100 m (328 ft) vertical stretch after easier grassy ground, with the hardest climbing early in the route.
For a first day on iron, accept shorter cabled sections and more walking, and pick a line where the steep part is brief and holds are plentiful. Save multi-hour exposure with ladders and glacier crossings until you know how you handle height and how fast you move in a harness.
Easy via ferrata for first-timers
Averau is the shortest warm-up on this list. A chairlift from Rifugio Fedare reaches Rifugio Averau, or you can drive from Cortina d'Ampezzo along the SS 48 toward Passo Falzarego and take a chairlift to Rifugio Scoiattoli, then path 439. From Rifugio Averau a marked path leads north to the start just below the northeast gully, and a 60 m (197 ft) lined ascent puts you on the crest.
The Cir group offers a direct trade-off. Piccola Cir covers 400 m (1,312 ft) of steeper, more exhilarating terrain, while Grande Cir stretches 600 m (1,968 ft) on much easier ground with broad ledges; either can be done in under three hours. Both are reached from the top station of the Dantercëpies lift, with Piccola Cir starting on the right side of the gorge and Grande Cir approached along the west side to a protected ledge.
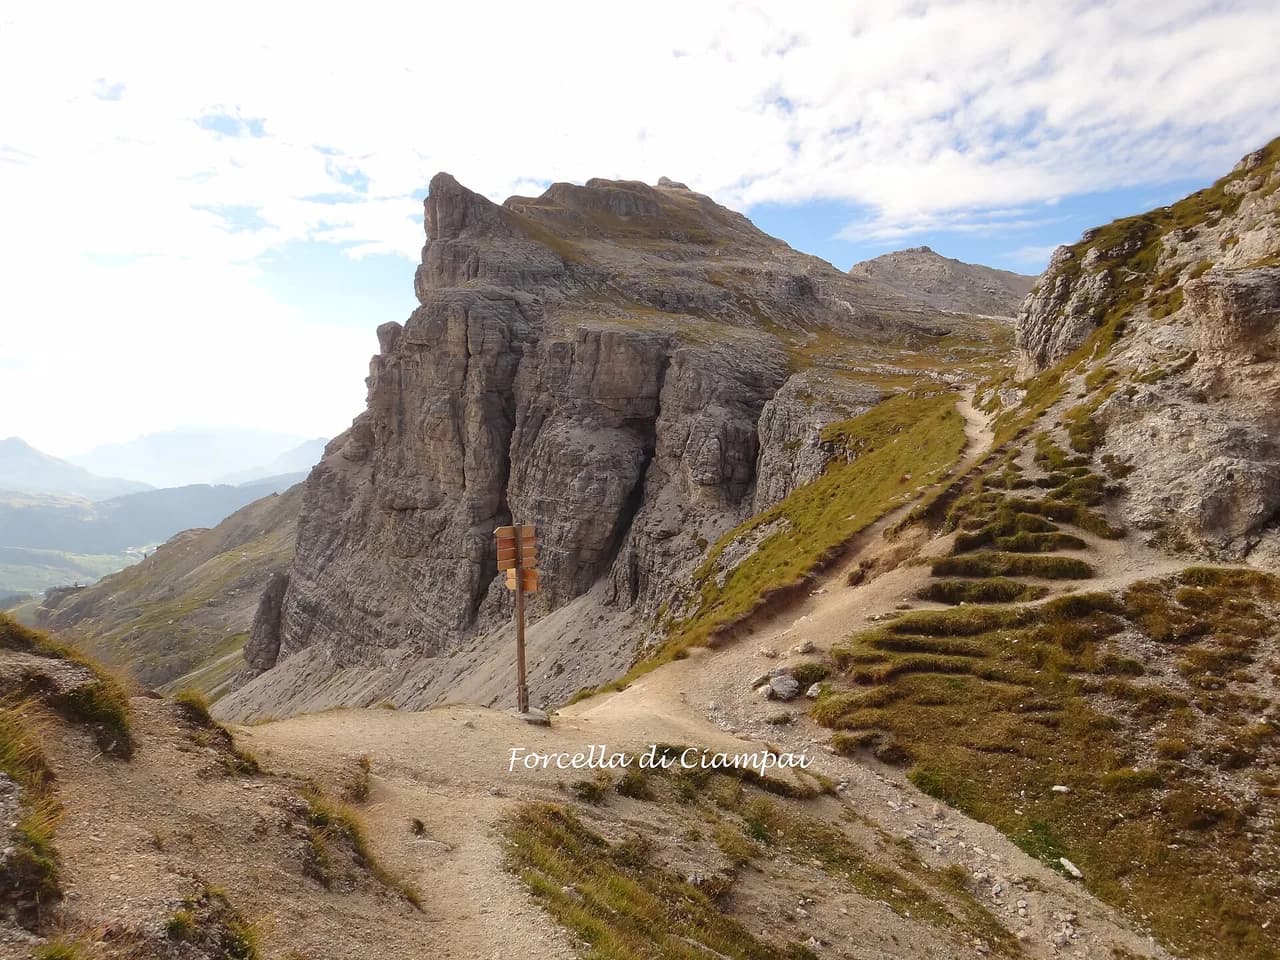
Col dei Bos climbs the south face of Col dai Bos above Passo Falzarego, with the access path starting near the Da Strobel restaurant and passing remnants of a First World War hospital on the way. The most demanding section comes first, easing around 80 m (262 ft) at a wide ledge, then returning for one more vertical stretch before the grassy finish.
Nuvolau-Ragusela is a short descent rather than an ascent: from the ferrata you go down an iron ladder to an equipped ledge, then continue down the southeast face to the vertical Ra Gusela wall. Path 443 brings you back to Rifugio Scoiattoli, or path 452 toward Passo Giau and Rifugio Averau. It suits a half day when you want exposure without a long climb.
The Tre Cime option: Innerkofler-Misurina
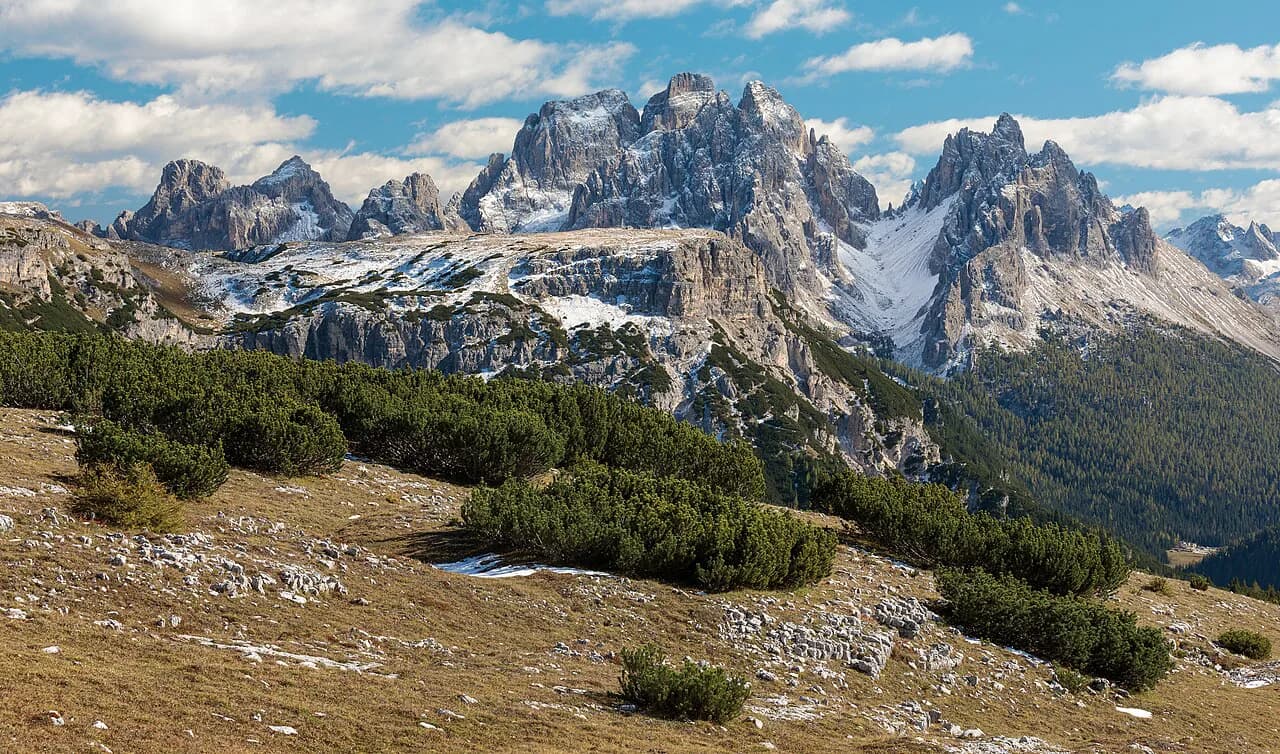
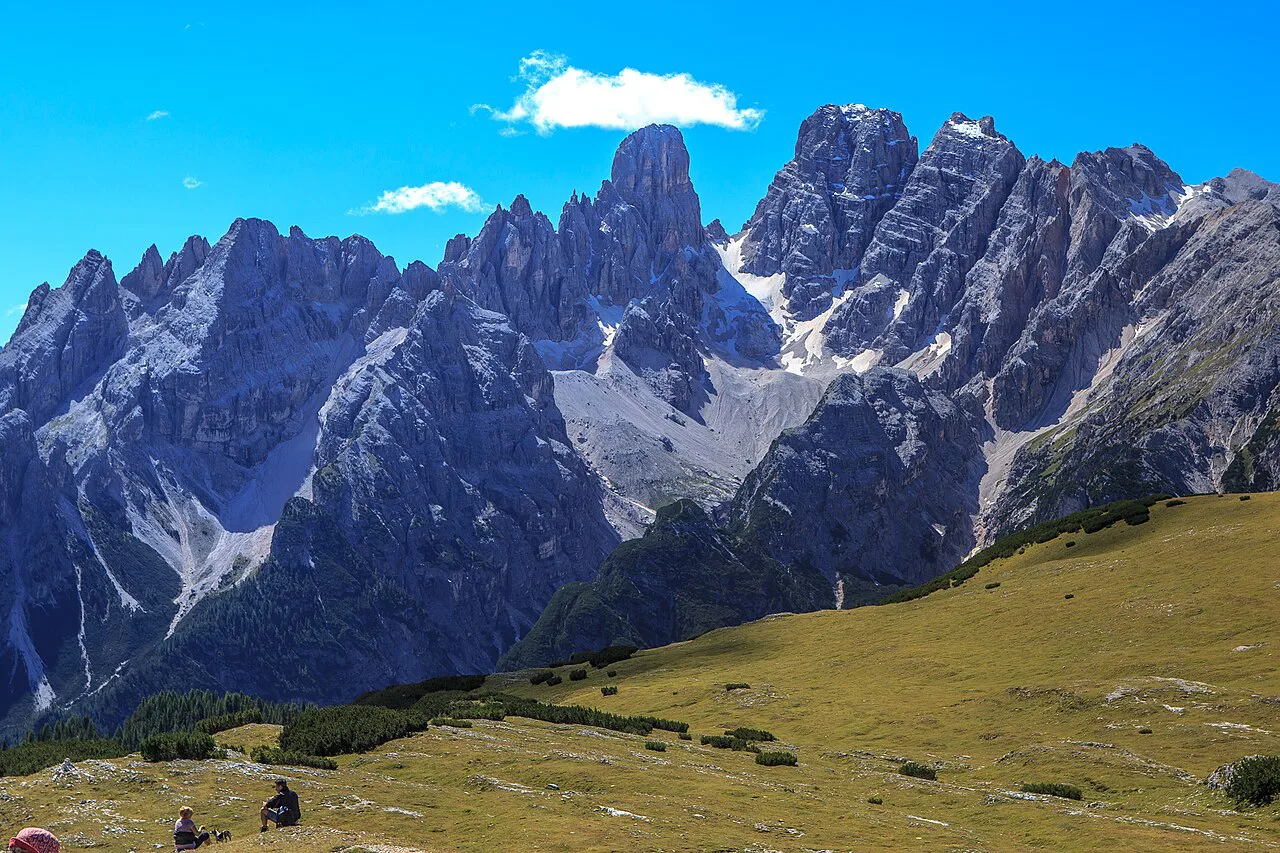
Below Monte Paterno, the Innerkofler-Misurina route crosses the northwest crest and east face to Forcella dei Camosci, partly through tunnels used in the First World War. The draw is the view: the north faces of the Tre Cime di Lavaredo seen head-on from the protected ground, with a direct, pleasant line to the summit.
Access runs from Cortina to Misurina via Passo Tre Croci, then along the Tre Cime toll road to Rifugio Auronzo. From there a path passes beneath the Tre Cime to Rifugio Lavaredo and Rifugio Locatelli, where the ferrata begins. Because the toll road is involved, plan your timing around the drive so that the start of the route matches the hours you actually arrive.
Trailhead access and lifts
Three access patterns cover most of the easy routes. The Fedare chairlift serves Rifugio Averau and the path to Nuvolau; the Dantercëpies lift serves the Cir ferratas; and driving the SS 48 from Cortina toward Passo Falzarego puts you at the Scoiattoli and Da Strobel access points. Walkers heading further afield use the same corridors, which is why a classic long-distance line such as the Alta Via 1 shares trailheads with ferrata days.
Lift opening periods and toll-road operation change through the year, so treat any chairlift as a planning assumption until the lift company publishes its dates for your season; the same applies to hut opening seasons. Bring cash and card for lift tickets and tolls, and start early enough that a queue at the bottom station does not eat your margin of daylight.
The Brenta Dolomites: a multi-day traverse
West of the Adige Valley, the Brenta Group stands apart from the rest of the Dolomites but is geologically identical, and it holds the range's signature high-level traverse. One five-day route, guided and run north to south, uses several ferratas and four rifugios, climbing roughly 1,900 to 3,173 m (6,234 to 10,410 ft). Madonna di Campiglio, a ski town in winter, works as the base in summer.
A gondola lift from the Madonna di Campiglio side saves a long approach, delivering you to around 1,900 m (6,234 ft) before the route heads south. Cima Tosa, at 3,173 m (10,410 ft), is the highest peak in the Brenta Group and a possible summit addition in good weather for parties moving well. This is a mountaineering itinerary, not a walking route with cables bolted on, and it should be planned as such.
Bocchette route layout, stage by stage
The first stage climbs into the group via the Via Benini, mixing easy wide ledges with numerous ladders to reach the huts. From Rifugio Tuckett, the high rifugio position means an hour or less to the start of each day's ferrata, so the climbing begins early rather than after a long walk-in.
Day two continues on the Bocchette Alta and the Bocchette Centrale, where ladders and ledge traverses run above Lago Molveno far below; the central section is arguably the best climbing of the traverse. A long ladder marks the start of the Bocchette Centrale, and the route then crosses a glacier before the next hut.
Days on this route ran about six to seven hours of ferrata, with early starts around 6:30 to get ahead of large, slow groups on the cabled ground. The exposure is constant on the ledge sections, and a glacier crossing demands the right equipment and judgment; a certified guide earns his or her place on exactly these days, making the route and weather calls.
Brenta huts and how half board works
The traverse beds down in Rifugio Tuckett, Rifugio Alimonta, Rifugio Tosa and Rifugio Agostini, with Rifugio Brentei passed on the final descent for a coffee stop. Dorm beds with half board, meaning dinner and breakfast, were charging around 50 euros at the time the route was described; hut rates change, so confirm the current price with each rifugio when you reserve.
Bedding comes with the room apart from a sleeping bag liner, which hut users are expected to bring. Book early and directly with the huts or their managing alpine club, because high rifugios have limited dorm space and fill on summer weekends; the same routine underpins any Dolomites route between mountain huts.
Gear for a Dolomites via ferrata
The non-negotiable kit is a climbing harness, a ferrata lanyard with two arms, a helmet and gloves; the lanyard is rated to absorb a fall, unlike a sling or a couple of carabiners. Boots with stiff soles help on rock ladders, and a small pack keeps the lanyard clear of your body when you turn.
For the Brenta traverse, add sleeping bag liner, hut clothing and enough layers for cold mornings at altitude, since much of the route stays above 2,500 m (8,200 ft). Water and food come from the huts, so plan your day's supplies around hut opening rather than carrying days of weight.
Guided or self-guided
Self-guided suits hikers already comfortable on protected ground who can read a route, move efficiently on cable and manage their own weather judgment. Guided formats suit a first ferrata, a party with mixed experience, or any plan that includes glacier crossings like the Brenta traverse, where the guide's value lies in timing, rope work and knowing when the forecast means turning around.
Commercially guided options range from five-day ferrata getaways to a seven-day route from Cortina to Alta Badia, and trip difficulty is usually flagged as moderate or challenging. If you want the logistics, huts and transfers handled for you, the same applies to the wider network.
When to go
The traverse sources describe late-season conditions with few flowers at 1,900 to 3,173 m (6,234 to 10,410 ft), and snow can linger on passes early and late in the season. Plan high ferrata days for the warmer months when the cable sections are dry, and keep a lower valley walk as a backup when afternoon storms build.
Afternoon thunderstorms are the main scheduling constraint on exposed ledges; start early, watch cloud building over the peaks, and expect to be off the cables by mid-afternoon. Reserve your hut nights well ahead for the peak summer window, and carry a headlamp for early starts.
Exposure, scrambling and where to draw the line
The ledge traverses on the Bocchette Centrale and the scramble toward Cima Tosa involve a lot of exposure in places, and the line between a protected path and a climb is set by how you feel on drop-offs. If ladders above a void unsettle you, stay with Averau or Grande Cir, where holds are plentiful and the cabled sections are short.
Turn around when the weather shifts, when a partner is struggling, or when the next section looks harder than what you have already climbed. For a first ferrata, half a day is enough, and there is no prize for continuing into the hardest pitch of the route.
Base towns: Madonna di Campiglio and Cortina d'Ampezzo
Madonna di Campiglio, in the Brenta, is the natural base for the Bocchette traverse and any route that starts from the gondola above town; it is a winter ski resort that turns into a summer hiking centre. Cortina d'Ampezzo serves the eastern options, with the SS 48 giving direct access to the Passo Falzarego lift points and the toll road to Rifugio Auronzo on the Tre Cime side.
Choose one base if you are doing half-day ferrata, and two nights on either side if you are combining the Brenta with the eastern routes. If you want a non-ferrata day on the same trip, the Odle/Geisler massif above Val di Funes is a fine stand-alone walk in the Puez-Odle Nature Park, though it is a hiking day rather than an iron path.
Plan Your Visit
Start with an easy half day such as Averau or Grande Cir to test your head for height, then scale up to Piccola Cir or Col dei Bos once you know how you move on cable. Treat the Brenta traverse as a separate project: five days, four huts, a glacier crossing and a guide who can read weather and route conditions.
Book your hut nights first, build your days around early starts and afternoon storms, and carry a proper harness, lanyard, helmet and gloves even on the short routes. The rest, from lift times to tolls and hut rates, is best confirmed with the rifugio staff and lift companies before you travel.
Frequently Asked Questions
What is via ferrata climbing?
A via ferrata is a protected climbing route on a rock wall, equipped with anchored cables, rungs and ladders that you clip into with a ferrata lanyard. In the Dolomites many lines follow First World War military routes, so you climb vertical ground and cross exposed ledges with the security of a steel cable rather than a rope. You still need a harness, helmet and gloves, and the lanyard is the piece of kit that makes the system work.
Can I do a via ferrata in the Dolomites with no experience?
Yes, if you pick a short, lift-served route and go with someone who knows the system. Averau is a brief cabled climb of about 60 m, and Grande Cir offers broad ledges and easier ground over roughly 600 m, both of which suit a first outing. Learn to clip through anchor points before you start, and save routes with long ledge traverses or glacier crossings until you have a few days on iron behind you.
Where are the Dolomites mountains?
The Dolomites lie in northern Italy, with the Brenta Group west of the Adige Valley and the eastern clusters around Cortina d'Ampezzo and the Tre Cime di Lavaredo. Madonna di Campiglio makes the natural base for the Brenta traverse, while Cortina serves the Passo Falzarego and Tre Cime routes. Distances are short on the map but slow on mountain roads, so choose one base per trip rather than trying to cover both ends.
How long does a Dolomites via ferrata traverse take?
The Brenta Bocchette line described here runs five days, with four nights in rifugios and roughly six to seven hours of ferrata on the main days. Lift-assisted half-day routes such as Averau and the Cir ferratas fit into a morning or afternoon. Build in a weather day for anything multi-day, because afternoon storms and lingering snow can close the high ground.
What gear do I need for a Dolomites via ferrata?
You need a climbing harness, a two-arm ferrata lanyard rated to absorb a fall, a helmet and gloves for the cables. Stiff-soled boots help on ladders, and a small pack keeps the lanyard clear of your body. For hut nights add a sleeping bag liner, hut clothing and warm layers, since much of the Brenta route stays high.
Which easy via ferrata near Cortina suits a first-timer?
Averau is the shortest option, reached by chairlift from Rifugio Fedare or from Passo Falzarego via Rifugio Scoiattoli and path 439, with about 60 m of cabled climbing. Col dei Bos above Passo Falzarego is a longer day with the hardest section first and a 100 m vertical stretch near the end, so it suits a second outing more than a first. Nuvolau-Ragusela works well if you want exposure on a descent rather than a climb.
Do I need a guide for the Brenta Bocchette traverse?
A guide is the sensible choice for a first traverse, because the days involve long ledge traverses, a glacier crossing and route-finding between rifugios. A certified UIAGM/IFMGA mountain guide handles timing, rope work and the decision to turn around when weather builds. Experienced parties who already move well on cable and have glacier skills can plan the same huts independently.
Sources
Trail notes for your next trip
Optional updates when we add or revise hiking guides.
You might also like
Continue reading
More guides you'll find useful